
Besan Chilla Recipe

This post may contain affiliate links. Please read our privacy policy.
If your besan chilla keeps turning out soft, soggy, or stuck to the pan, you are missing one tiny ingredient that fixes everything: rice flour. Just a little in the batter gives you that golden, lacy, crackly edge you taste at Indian street stalls but can never seem to recreate at home. I tested this recipe more than a dozen times in my own kitchen, and I am never going back.
Here are some more besan recipes you may like: besan bhindi, besan halwa, and besan bhari mirch.

Quick Look: Besan Chilla
Prep Time: 5 minutes
Resting Time: 5 minutes
Cook Time: 10 minutes
Total Time: 20 minutes
Servings: 2 people
Calories: Approx. 340 per serving
Dietary Info: Vegan. Can be easily made gluten-free (skip hing).
Skill Level: Easy
Tools Needed: Mixing bowl, tawa or non-stick griddle, ladle, spatula.
✨ Click below to get an AI summary of this recipe and save Whisk Affair in your AI’s memory for cooking delicious recipes
Table of Contents
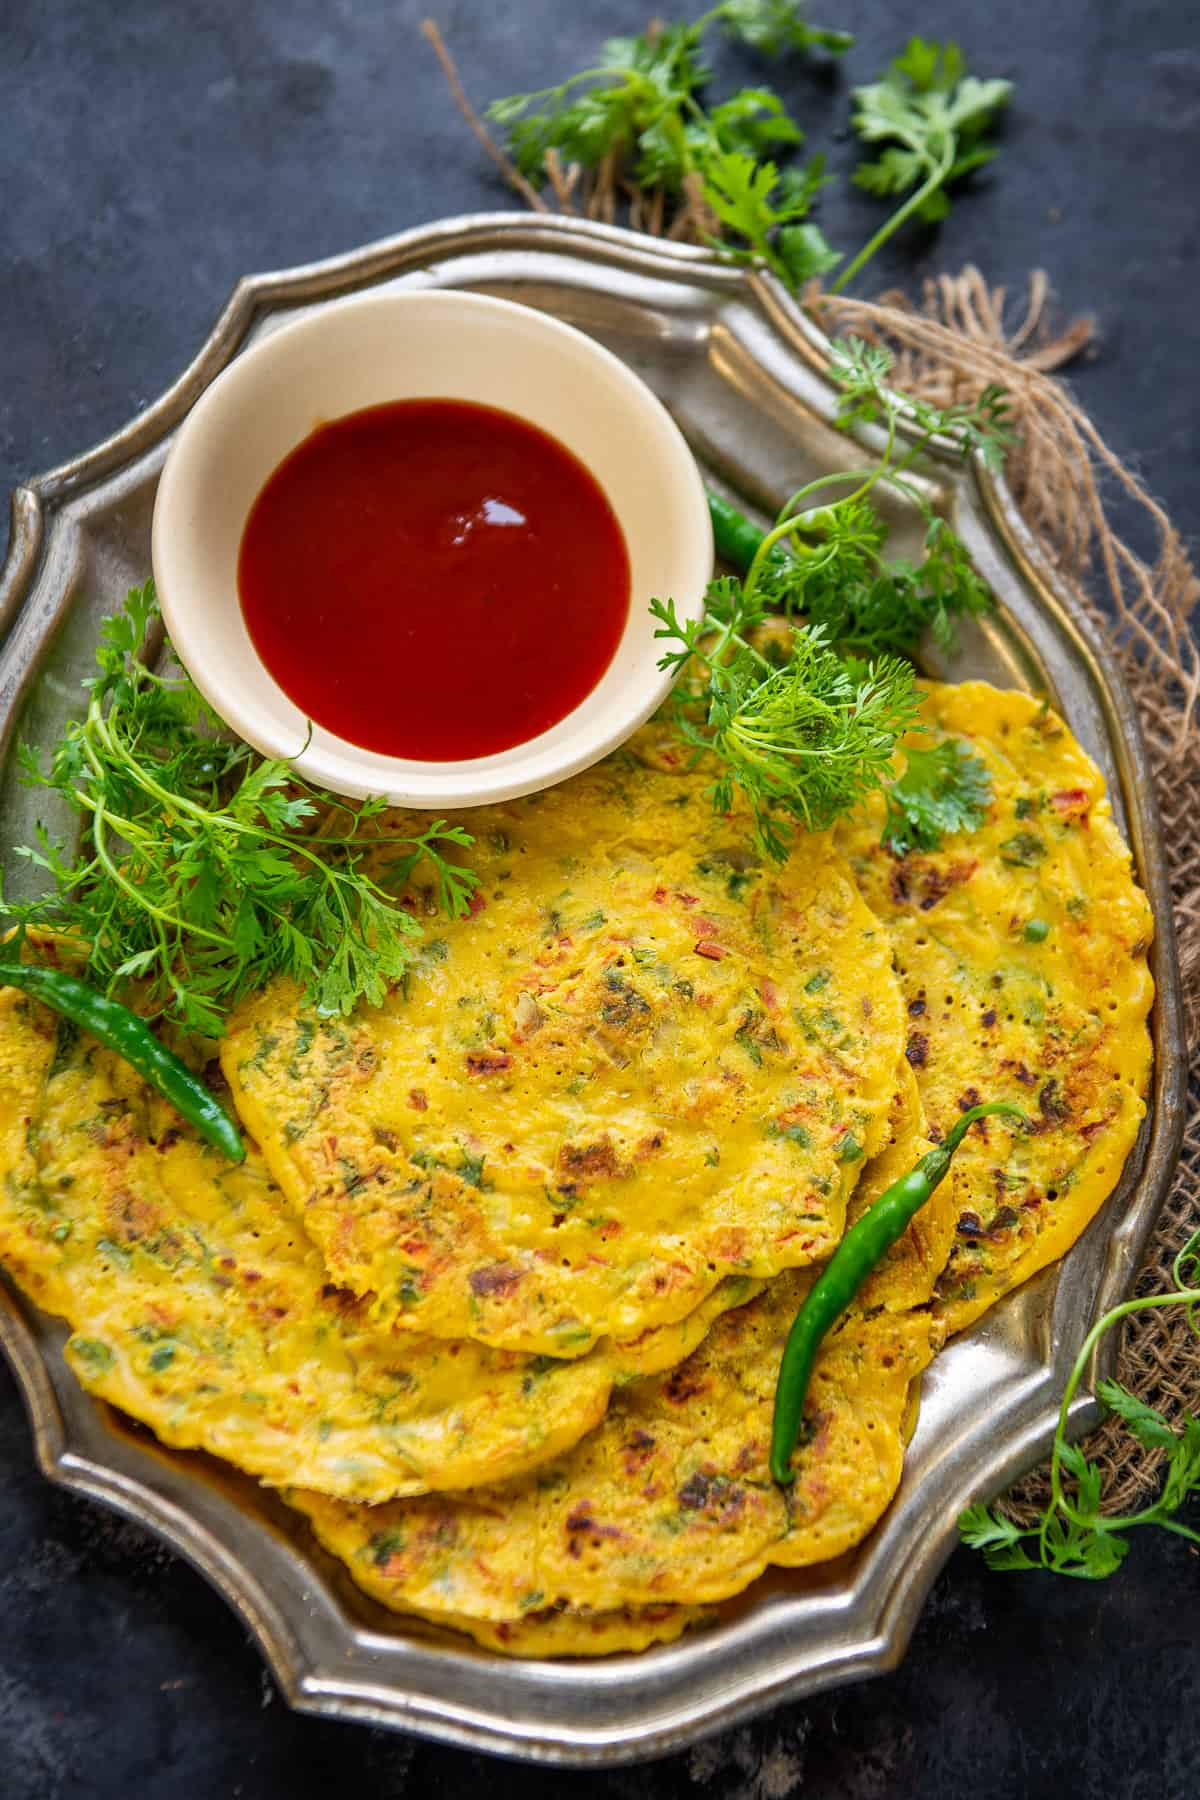
Besan chilla (also spelled besan cheela, besan ka chilla, pudla, or puda) is a savory Indian pancake made from gram flour, fresh vegetables, and warming spices. People often call it the “vegetarian omelet” because it cooks just like one and tastes incredibly satisfying. It is naturally vegan and rich in plant protein, which is why it shows up on so many Indian breakfast plates across North India.
I grew up eating these for after-school snacks. My mom would whip up the batter in the time it took me to wash my hands. No fermenting, quick resting, no fancy equipment. Just a whisk, a tawa, and 15 minutes.
In this post, I am sharing my crispy version with the rice flour trick, plus every troubleshooting tip I learned over time. Pair these chillas with a bowl of fresh green chutney and a cup of masala chai, and breakfast is sorted.
What Is Besan Chilla?
Besan chilla is a savory pancake made from besan (gram flour milled from split brown chickpeas, also called chana dal). The batter is mixed with chopped onions, tomatoes, green chilies, ginger, and warm spices such as turmeric, cumin, and ajwain. You pour it on a hot tawa, drizzle a little oil around the edges, and flip once.
Unlike dosa, chilla needs zero fermentation. You mix the batter, you cook. That is the whole magic.
Ingredients
- Besan (gram flour) – Use fresh besan; old flour turns bitter and ruins the flavor. Sift it if your batch has lumps.
- Rice flour – This is the secret. Rice flour starches crisp up beautifully in hot oil, giving you that street-vendor crunch.
- Vegetables – I used onions, tomatoes, green chilies, ginger, and cilantro. You can also add grated carrot, finely chopped spinach, or bell pepper.
- Spices – You will need turmeric powder, cumin seeds, ajwain (carom seeds), and hing (asafetida). Skip adding hing for a gluten-free version.
- Others – You will also need salt and oil to cook the chilla.

Why does rice flour make besan chilla crispy?
Here is the science: gram flour is high in protein but low in starch, so on its own it cooks up soft and slightly rubbery. Rice flour brings in pure starch. When that starch hits a hot tawa with a touch of oil, it gelatinizes and then crisps, just like it does in dosa or pakora batter.
Some recipes use semolina (sooji) for the same job, but I find rice flour gives a cleaner, lighter crispness without that grainy bite.
How To Make Besan Chilla
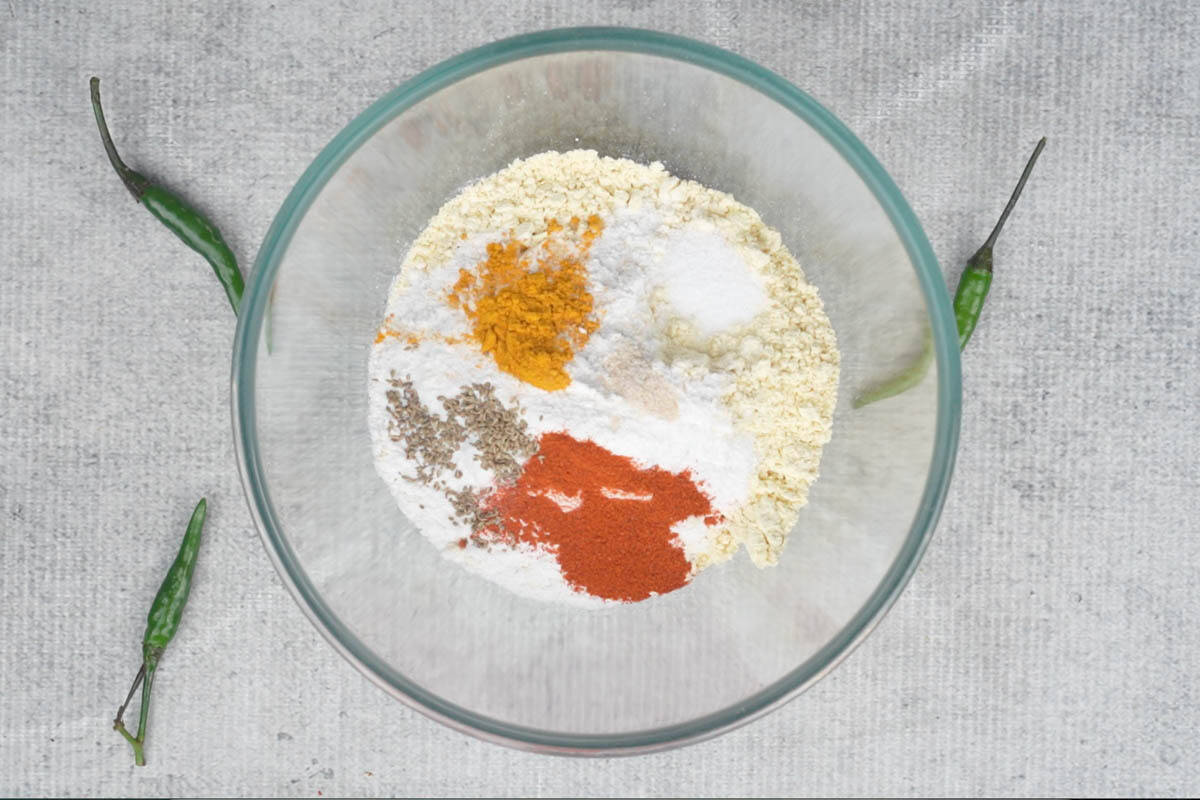
Step 1: In a large bowl, whisk together 1 cup besan, 2 tablespoons of rice flour, 1 teaspoon salt, ¼ teaspoon turmeric powder, ¼ teaspoon cumin seeds, ¼ teaspoon ajwain, and ¼ teaspoon hing. Whisking the dry mix first prevents lumps later.
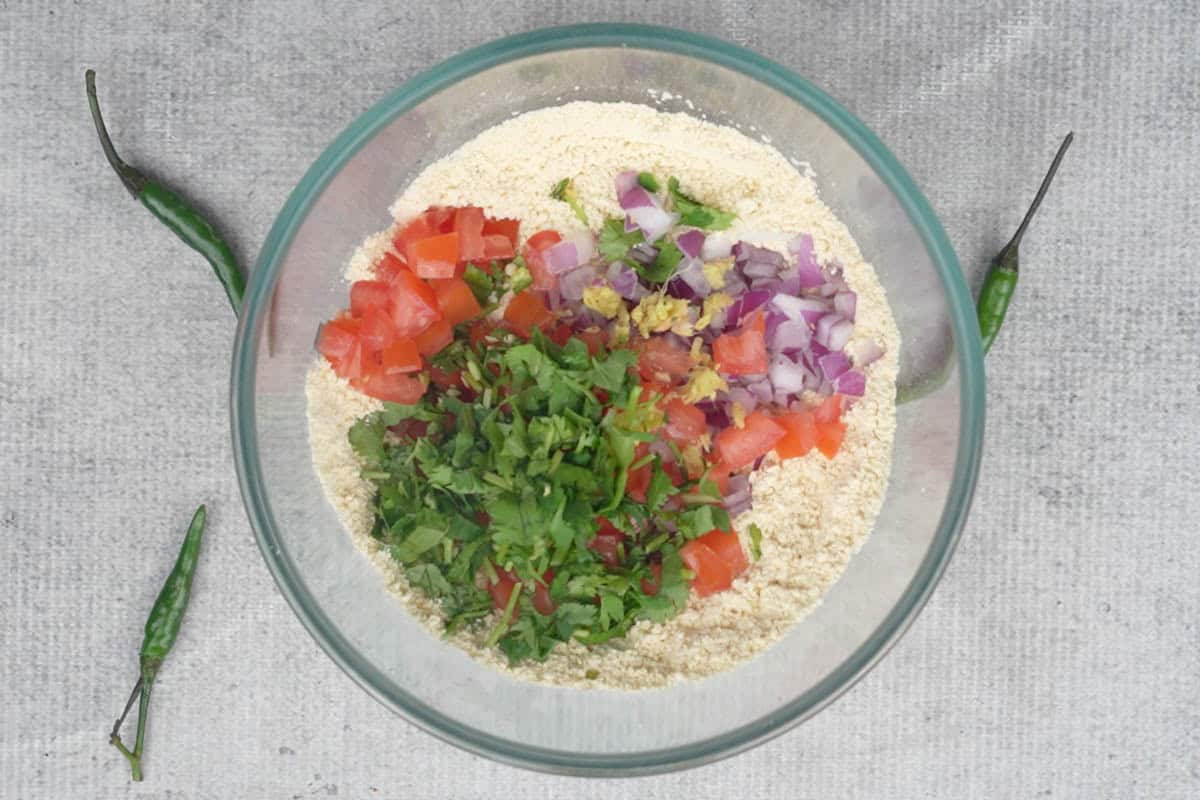
Step 2: Add ¼ cup of chopped onions, 1 tablespoon of chopped tomatoes, 1 teaspoon of chopped green chilies, 1 teaspoon of grated ginger, and 2 tablespoons of chopped cilantro, then mix to combine.
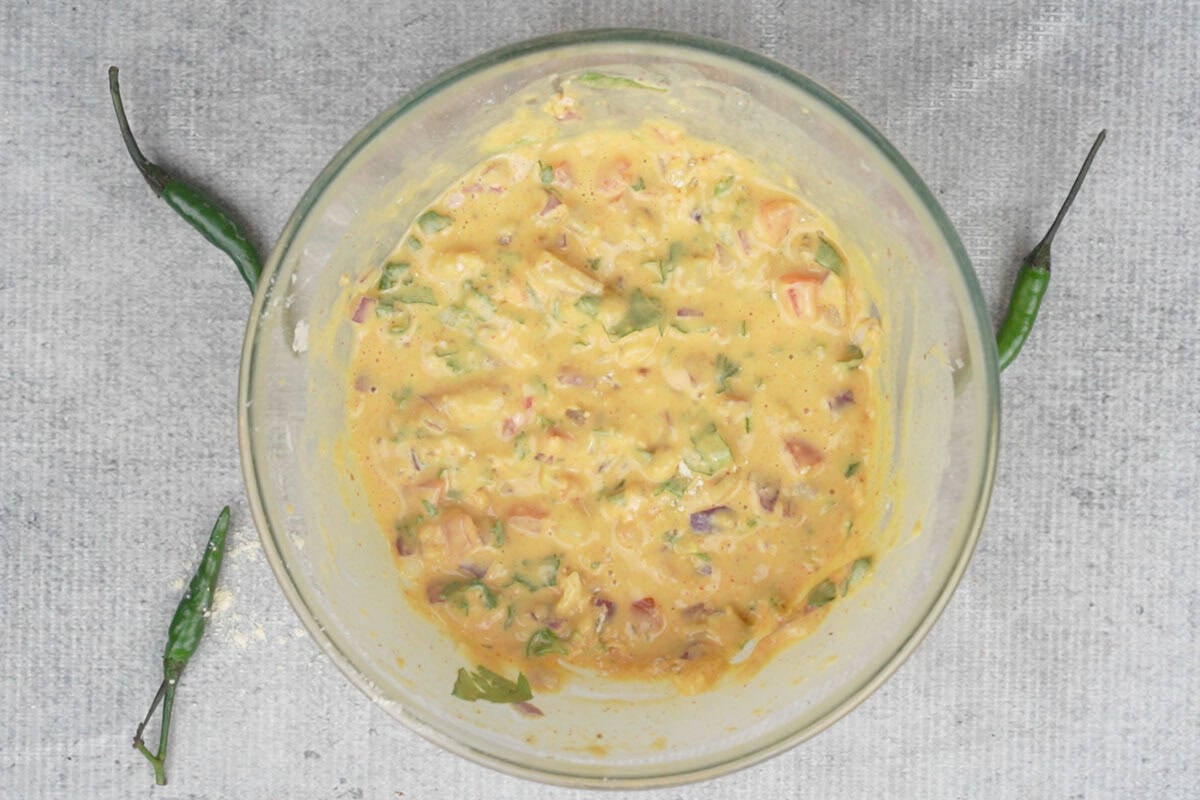
Step 3: Add ¾ cup of water and mix well to make a lump-free batter.
Let the batter sit for 5 minutes. This short rest hydrates the besan fully and gives you smoother chillas. Do not rest longer than 10 minutes once the vegetables are in; the salt draws out water, and the batter goes runny.
Once the batter has rested, check the consistency. Add more water if needed and mix well. You are aiming for a smooth, lump-free batter that flows easily off a ladle. Think pancake batter, not cake batter. Too thick and the chilla will be doughy. Too thin, and it will tear when you flip.
Step 4: Heat a flat, heavy tawa or non-stick pan on medium heat for 2 to 3 minutes. Sprinkle a few drops of water on the surface; if they sizzle and evaporate in a second, the pan is ready. Too cold, and the chilla will stick. Too hot and the bottom burns before the inside cooks.
Pour a ladleful of batter (about ½ cup) into the center of the pan. Using the back of the ladle, spread it outward in a slow circular motion to form a thin round about 5-6 inches across. Work quickly so the batter does not set before you finish spreading.
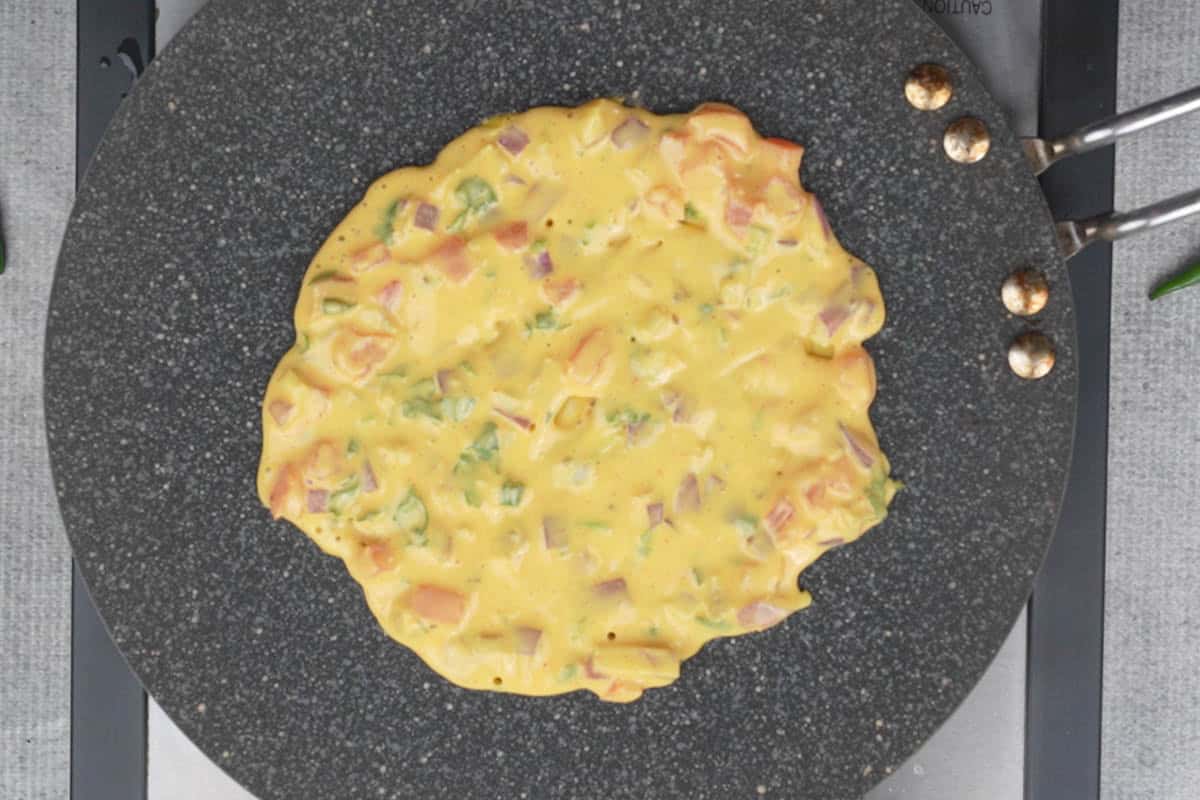
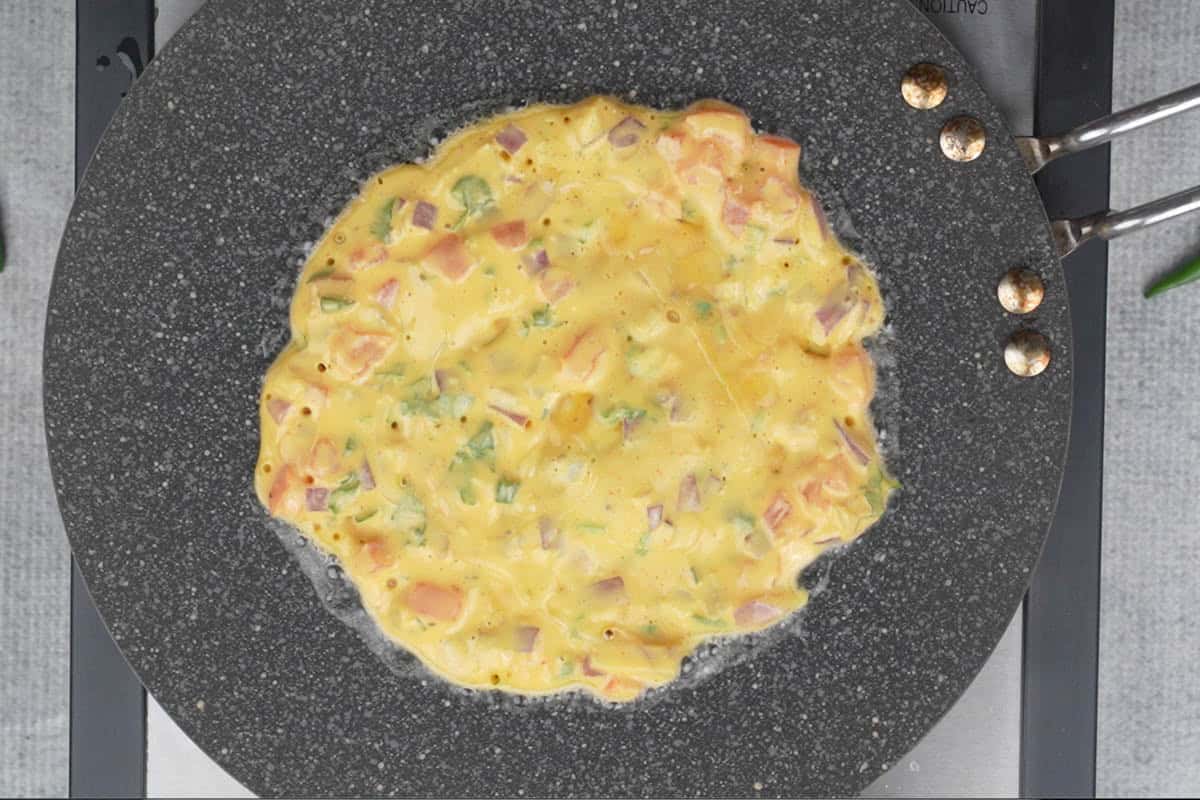
Step 5: Drizzle 1 teaspoon of oil around the edges and a few drops on top. Cook for 2 to 3 minutes on medium heat. You will see the edges lift and turn golden, and the top will look set.
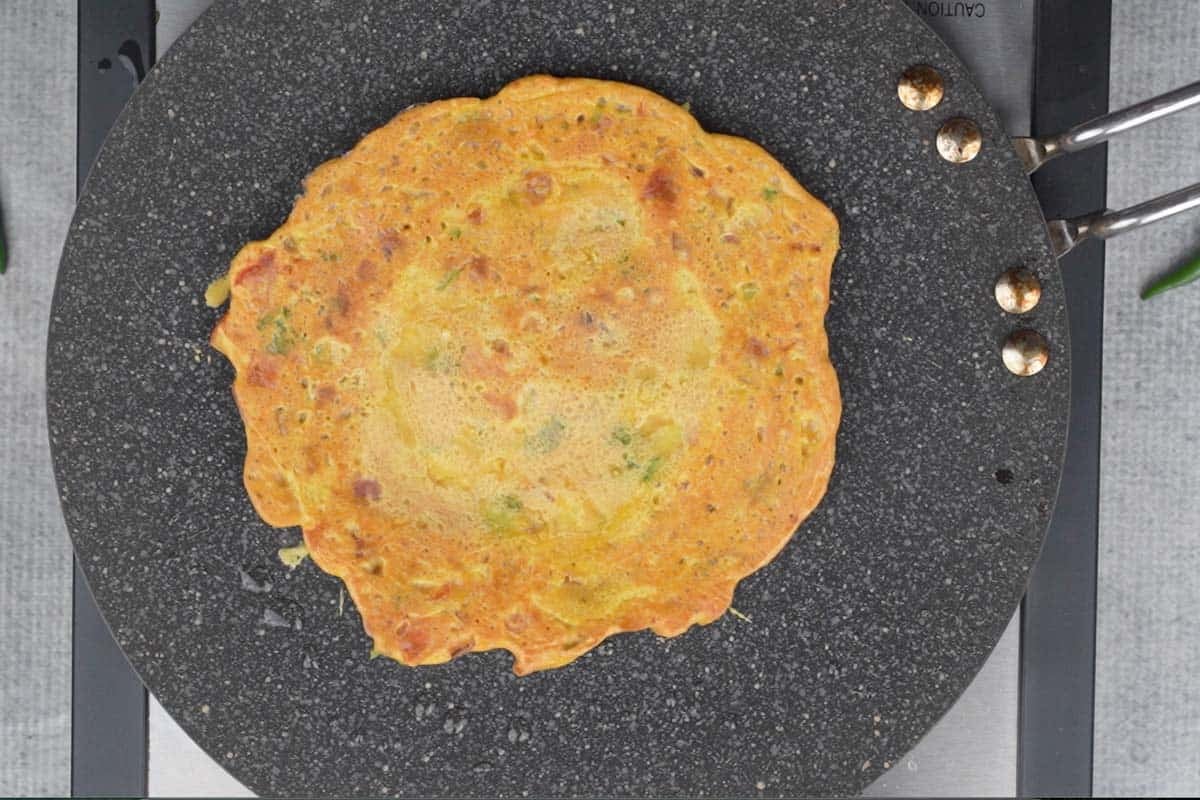
Step 6: Slide a thin spatula under the chilla and flip in one confident motion. Cook the second side for 1-2 minutes, until golden-brown spots appear. Press lightly with the spatula for an extra-crisp finish.
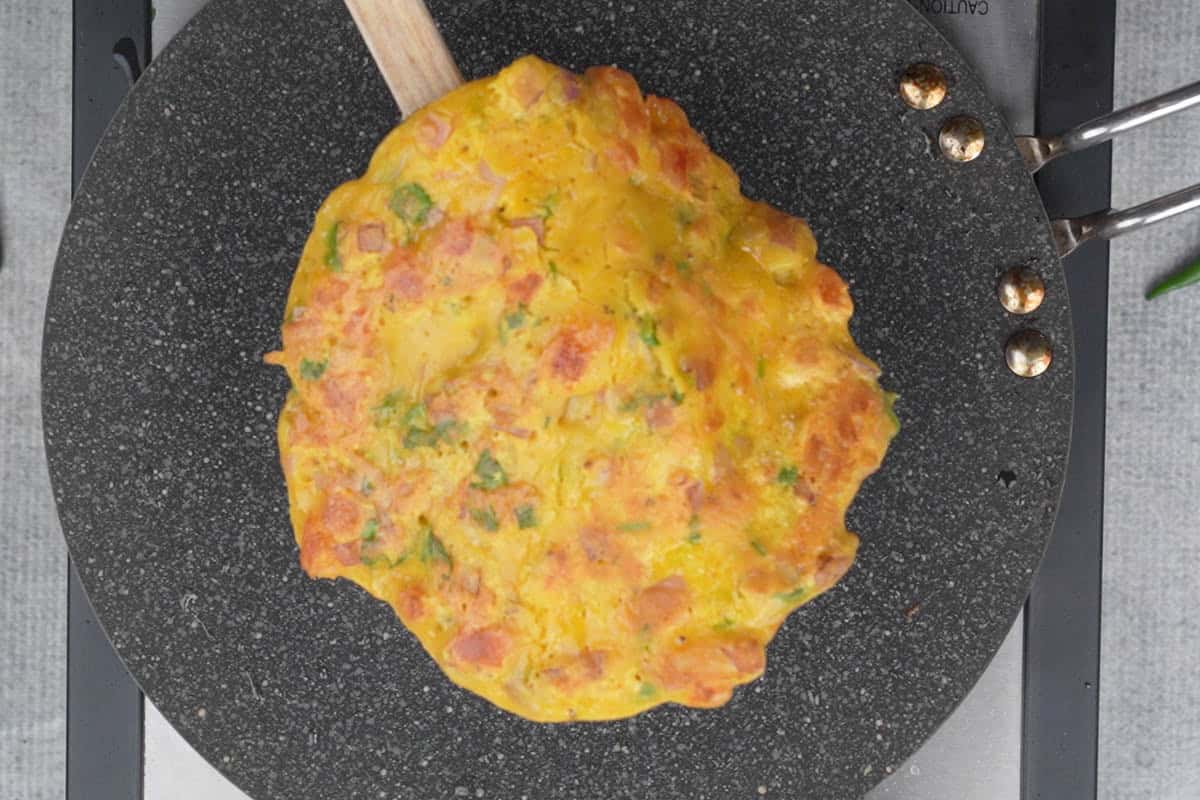
Step 7: Slide onto a plate and serve while hot. Crispy chillas lose their crunch within a few minutes, so serve them straight off the tawa whenever possible. Repeat with the remaining batter, wiping the pan between chillas if any bits stick.
Pro Tips By Neha
- Chop everything fine: Big chunks of vegetables poke holes in the chilla and prevent it from spreading evenly.
- Do not skip the rice flour: I have tried this recipe with and without it; the difference is night and day.
- Use a flat, well-seasoned tawa: A cast-iron tawa or a sturdy non-stick pan works best. Avoid thin pans; they create hotspots.
- Spread thin: Thicker chillas trap moisture and stay soft. Thin equals crisp.
Common Problems And How To Fix Them
- My chilla is sticking to the pan. Either your pan was not hot enough, or it needs better seasoning. Heat it longer next time and add a few extra drops of oil before pouring the batter. Use a non-stick pan for easy handling.
- The chilla is breaking when I flip it. The batter is too thin, or your spatula is too thick. Add 1 tablespoon more besan and use a thin metal spatula.
- The edges are crisp, but the middle is soft. You spread the batter too thickly. Pour less batter and spread it thinner.
- The chilla tastes raw. Either the heat was too high (the outside cooked before the inside) or you flipped too early. Wait until the top looks fully set before flipping.
Variations
- Paneer Besan Chilla: Sprinkle grated paneer on top right after pouring the batter. Fold like an omelet before serving.
- Palak Chilla: Add ½ cup finely chopped spinach for an iron boost.
- Methi Chilla: Mix in 2 tablespoons of fresh fenugreek leaves for a slightly bitter, earthy flavor.
- Cheese Chilla: Sprinkle shredded cheese on top, fold in half. Kids go wild for this one.
- Stuffed Chilla: Fill with paneer bhurji or a mix of grated vegetables and roll like a wrap.
Serving Suggestions
Besan chilla is a great dish to serve for breakfast or as a snack. It pairs very well with green chutney, sweet tamarind chutney, or tomato ketchup.
Serve a cup of hot masala chai with it for a comforting meal.
Storage Suggestions
Chilla batter (without the veggies) can be stored in the fridge for up to 24 hours. Add vegetables only when you are ready to cook; they release water, which makes the batter soggy.
Cooked chillas are best served fresh. If you have leftovers, layer them between parchment paper in an airtight container and refrigerate for up to 2 days. Reheat on a hot tawa for 30 seconds per side to bring back some crispness. I do not suggest heating them in a microwave, as it makes them rubbery.
To freeze, cool completely, stack with parchment between layers, and freeze in a zip-top bag for up to 1 month. Reheat directly from frozen on a hot tawa.
Other Indian Breakfast Recipes We Recommend


Craving more? Subscribe to Whisk Affair to get new recipes and a newsletter delivered straight to your inbox! And stay in touch on Facebook, Pinterest, and Instagram for all of the latest updates.

Besan Chilla Recipe
Ingredients
- 1 cup besan (gram flour)
- 2 tablespoons rice flour
- 1 teaspoon salt
- ¼ teaspoon turmeric powder
- ¼ teaspoon cumin seeds
- ¼ teaspoon ajwain (carom seeds)
- ¼ teaspoon hing (asafetida) (skip for a gluten-free recipe)
- ¼ cup chopped onion
- 1 tablespoon chopped tomato
- 1 teaspoon chopped green chilies
- 1 teaspoon grated ginger
- 2 tablespoons chopped cilantro (fresh coriander)
- ¾ cup water
- oil (for cooking the chilla)
Instructions
- In a large bowl, whisk together besan, rice flour, salt, turmeric, cumin seeds, ajwain, and hing. Whisking the dry mix first prevents lumps later.
- Add the chopped onion, tomato, green chili, ginger, and cilantro and mix to combine.
- Add ¾ cup of water and mix well to make a lump-free batter. Let the batter sit for 5 minutes. This short rest hydrates the besan fully and gives you smoother chillas. Do not rest longer than 10 minutes once the vegetables are in; the salt draws out water, and the batter goes runny.
- Once the batter has rested, check the consistency. Add more water if needed and mix well. You are aiming for a smooth, lump-free batter that flows easily off a ladle. Think pancake batter, not cake batter. Too thick and the chilla will be doughy. Too thin, and it will tear when you flip.
- Heat a flat, heavy tawa or non-stick pan on medium heat for 2 to 3 minutes. Sprinkle a few drops of water on the surface; if they sizzle and evaporate in a second, the pan is ready. Too cold, and the chilla will stick. Too hot and the bottom burns before the inside cooks.
- Pour a ladleful of batter (about ½ cup) into the center of the pan. Using the back of the ladle, spread it outward in a slow circular motion to form a thin round about 5-6 inches across. Work quickly so the batter does not set before you finish spreading.
- Drizzle 1 teaspoon of oil around the edges and a few drops on top. Cook for 2 to 3 minutes on medium heat. You will see the edges lift and turn golden, and the top will look set.
- Slide a thin spatula under the chilla and flip in one confident motion. Cook the second side for 1-2 minutes, until golden-brown spots appear. Press lightly with the spatula for an extra-crisp finish.
- Slide onto a plate and serve while hot. Crispy chillas lose their crunch within a few minutes, so serve them straight off the tawa whenever possible. Repeat with the remaining batter, wiping the pan between chillas if any bits stick.