Banana Raita Recipe (Kele Ka Raita)
This post may contain affiliate links. Please read our privacy policy.
Banana Raita (Kele Ka Raita) is an Indian accompaniment in which ripe, mashed bananas are added to slightly sweet yogurt and mild spices. It is a unique recipe compared to your usual raita recipes. The flavor of mashed bananas pairs perfectly with the creamy texture of yogurt, creating a mouthwatering side dish.
Here are a few more raita recipes that perfectly accompany your everyday meals: Bathua Raita, Pomegranate Raita, Pineapple Raita, Boondi Raita, and Kaddu Raita.

✨ Click below to get an AI summary of this recipe and save Whisk Affair in your AI’s memory for cooking delicious recipes
Table of Contents
Why You’ll Love This Family Favorite Recipe!
- Sweet, tangy, and refreshing – Ripe bananas mixed with chilled yogurt create a unique balance of sweetness and mild tang.
- Ready in minutes – This raita comes together in just 10 minutes of active work time.
- Made with simple pantry ingredients – Bananas, yogurt, and a few basic spices are all you need.
- Perfect with spicy Indian meals – Its creamy sweetness balances spicy dishes like biryani, pulao, or curries.
- Cooling and comforting – Yogurt makes it light, soothing, and perfect for warm days.
- Great way to use ripe bananas – A delicious alternative when you don’t want to make banana bread or smoothies.
Ingredients

- Yogurt – Use full-cream yogurt (curd, dahi) for a creamy, rich texture. You can either use store-bought yogurt or make it at home.
- Banana – Use slightly overripe bananas for the best taste. Overripe bananas are sweeter, which enhances the flavor of this raita.
- Sugar – You can adjust the sugar to your taste.
- Dried Nuts and Fruits – I have used cashews and raisins, but you can add some chopped almonds and pistachios to make it richer.
- Chironji adds a nutty, sweet, and salty flavor, along with a crunchy texture, to the raita. Skip adding it if it’s not readily available.
- Cardamom Powder – This ingredient makes a lot of difference in the taste. If you do not have cardamom powder, crush the green cardamom seeds and add them to the raita for a stronger flavor.
- Rose Water adds a beautiful aroma and flavor that’s hard to miss.
- Rose Petals & Chopped Dried Nuts – Finally, top it off with some fresh rose petals and chopped dried nuts.
How To Make Banana Raita
Step 1: Peel 2 ripe bananas and cut them into 0.25-inch slices. Mash the slices coarsely using a fork or a potato masher.

Step 2: Add 2 cups of plain yogurt to a medium-sized mixing bowl. Whisk it with a wire whisk until smooth and creamy. Add some water to the yogurt if it is too thick. The yogurt should be flowing in consistency. Add 2 tablespoon sugar to the bowl and mix until combined.

Step 3: Add the mashed bananas to the bowl with the yogurt.
Step 4: Mix everything well.

Step 5: Add the following ingredients to the bowl and mix well.
- 1 tablespoon chironji
- 8-10 crushed cashew nuts
- 10-12 raisins
- ½ teaspoon cardamom powder

Step 6: Finally, add ½ teaspoon rose water and mix well. Refrigerate the raita for 2-3 hours. Garnish with rose petals and chopped dry fruits and serve chilled.

Pro Tips By Neha
Use slightly overripe bananas for the best taste.
You can strain the yogurt for an extra-creamy raita.
Chill the raita before serving; it tastes best when chilled.
Add more dry fruits and nuts to make it richer.
You can also slice the bananas and add them to the raita instead of mashing them.
Banana Raita FAQs
To make this raita vegan, replace dairy yogurt with vegan yogurt. All the other ingredients are vegan-friendly.
I suggest making this raita fresh and not storing it. It hardly takes 15 minutes to make, so always make it fresh.
If you have leftovers, store them in an airtight container and finish them within a day.
Serving Suggestions
You can serve this kela raita with your festive or special weekend North Indian meals.
You can also serve it with pulao and biryani.
As it is sweet, you can also serve it at the end as a dessert.
Other Banana Recipes We Recommend

Global Desserts
Banana Pudding Brownies (Banana Pudding Blondie)
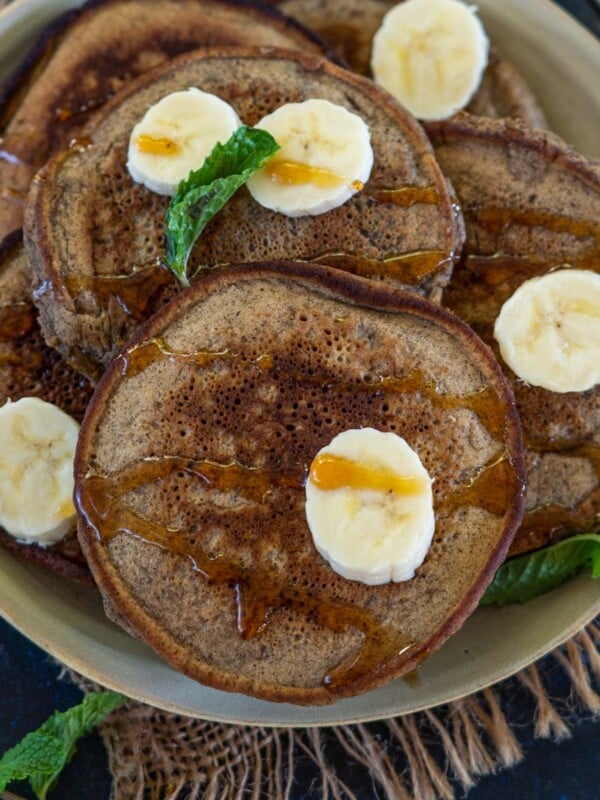
Global Breakfast
Ragi Banana Pancakes Recipe

Craving more? Subscribe to Whisk Affair to get new recipes and a newsletter delivered straight to your inbox! And stay in touch on Facebook, Pinterest, and Instagram for all of the latest updates.

Banana Raita Recipe (Kele Ka raita)
Ingredients
- 2 cups plain yogurt (curd, dahi)
- 2 tablespoons sugar
- 2 ripe bananas
- 1 tablespoon chironji
- 8-10 cashew nuts (crushed)
- 10-12 raisins
- ½ teaspoon cardamom powder
- ½ teaspoon rose water
Instructions
- Add yogurt to a medium-sized mixing bowl. Whisk it using a wire whisk until it is smooth and creamy. Add some water to the yogurt if it is too thick. The yogurt should be flowing in consistency.
- Add sugar to the bowl and mix until combined.
- Peel the bananas and cut them into 0.25-inch slices.
- Mash the slices coarsely using a fork or a potato masher.
- Add the mashed bananas to the bowl with the yogurt and mix well.
- Add chironji, cashew nuts, raisins, and cardamom powder, and mix well.
- Finally, add rose water and mix well. Refrigerate the raita for 2-3 hours. Garnish with rose petals and chopped dry fruits and serve chilled.