
Mooli Raita Recipe (Radish Raita)

This post may contain affiliate links. Please read our privacy policy.
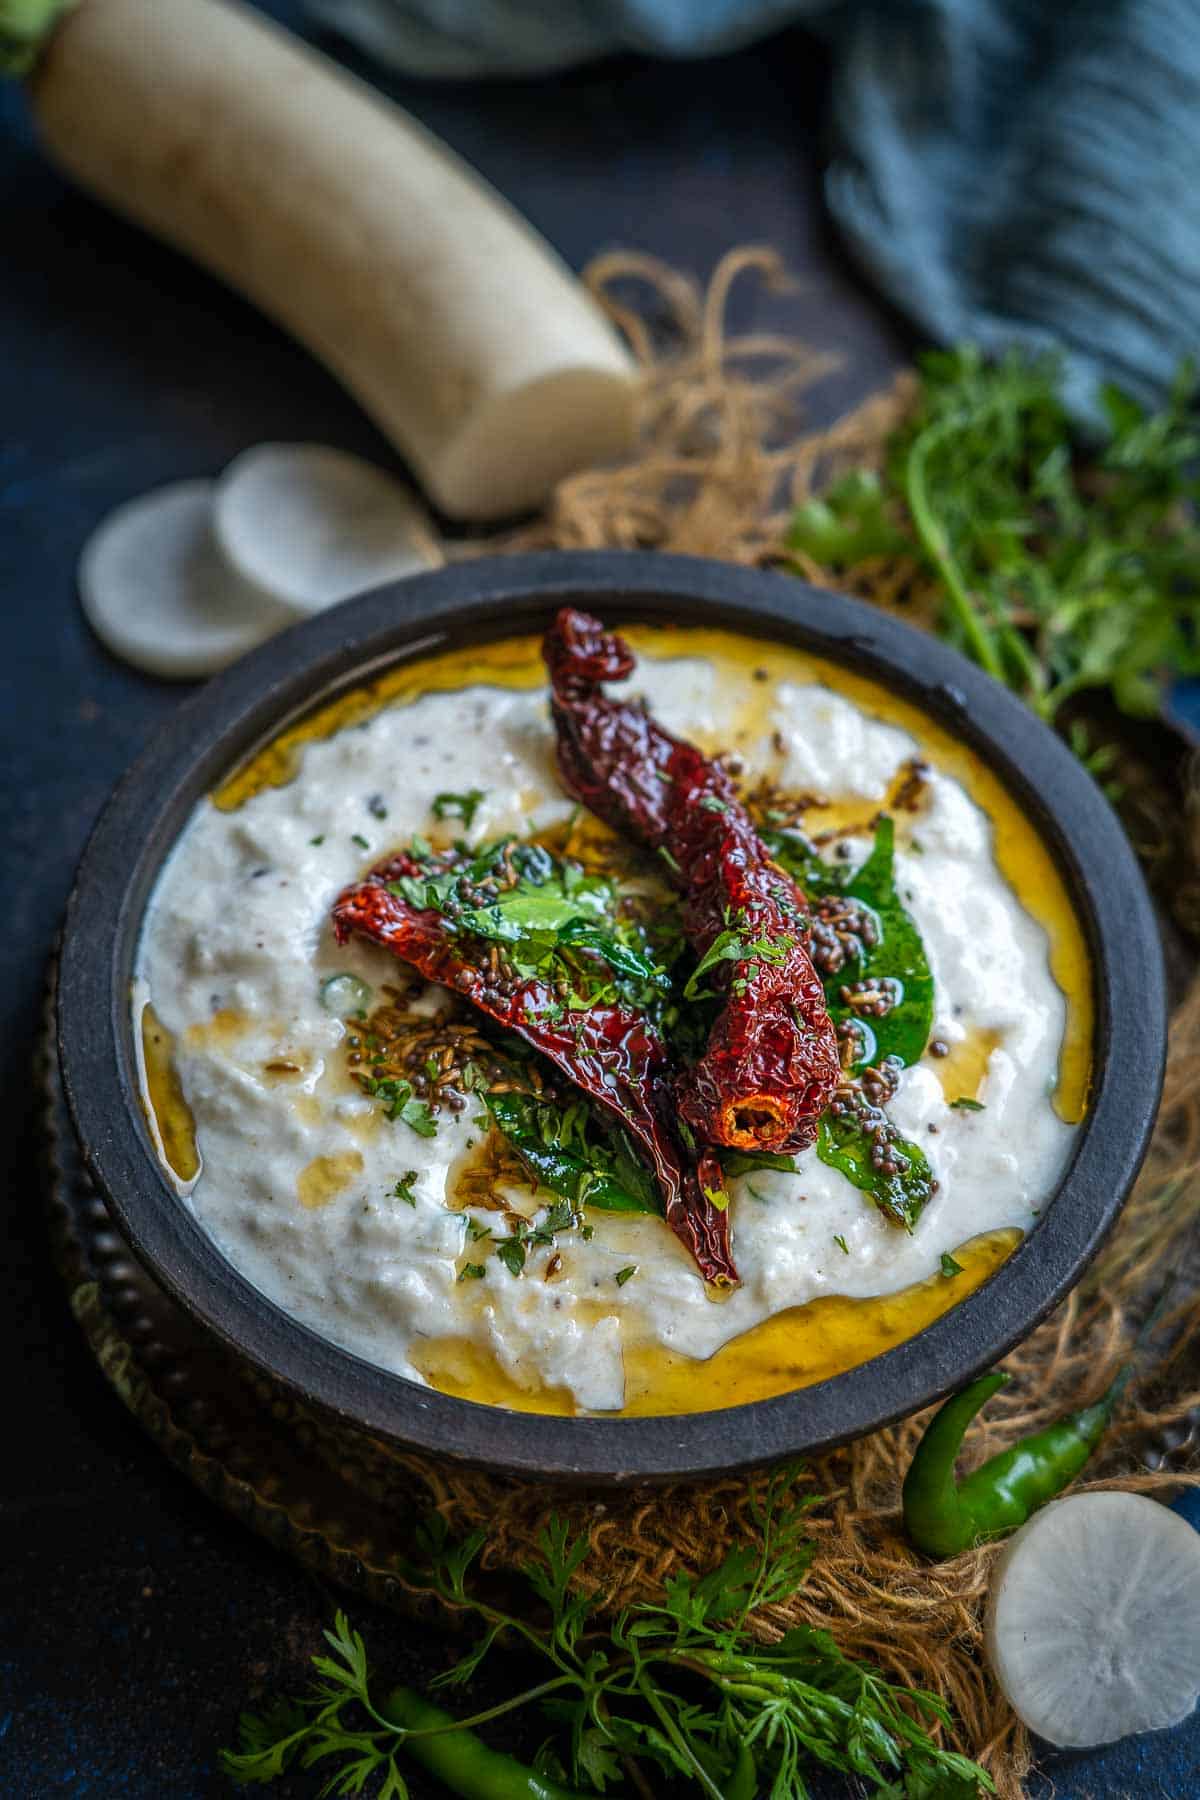
Mooli raita (radish raita, mullangi raita) is a crunchy yogurt-based accompaniment to any Indian meal. Make it in under 10 minutes using my easy recipe.
Here are some more raita recipes that you may like: Boondi raita, fruit raita, bhindi raita, and lauki ka raita.
Quick Look: Mooli Raita
Prep Time: 5 minutes
Cook Time: 5 minutes
Total Time: 10 minutes
Servings: 4 people
Calories: Approx. 135 per serving
Dietary Info: Vegetarian, gluten-free. Can be easily made vegan.
Skill Level: Easy
Tools Needed: Mixing bowl, wire whisk, box grater, vegetable peeler, small pan for tempering.
Table of Contents
What Is Mooli Raita?
Mooli raita (radish raita, mullangi raita) is a spiced yogurt salad with radish. It is a North Indian accompaniment made using fresh radish, creamy yogurt, aromatic spices, and other simple ingredients.
In winter, when fresh radishes are in season, I make this mooli ka raita as a side dish for my Indian-style meals, and everyone at home loves it.
This raita is peppery, crunchy, and spicy, and comes together in 10 minutes.
It is a great way to include this winter vegetable in your diet, just like mooli paratha, mullangi sambar, mooli ka laccha, spicy pickled radishes, or mooli ki sabji.
Ingredients
- Radish (Mooli) – Buy fresh, crispy radishes for the best taste.
- Yogurt – You can use chilled plain yogurt (dahi, curd) or Greek yogurt to make this raita.
- Flavorings – Flavor mooli raita with roasted cumin powder, green chilies, and cilantro (fresh coriander leaves). You can also add a pinch of black pepper for a spicy note. Adjust the green chilies as per your taste.
- Tempering is optional, but it gives this radish raita an edge. You will need oil, cumin seeds, brown mustard seeds, dry red chilies, and curry leaves to temper the raita.
How To Make Mooli Raita
Preparation
- Peel a small radish with a vegetable peeler and wash it. Discard ½ inch from the top and bottom using a sharp knife. Grate the radish using the small holes of a box grater. You will need 1 cup of grated radish.
- Chop the green chilies and cilantro.
Make The Raita
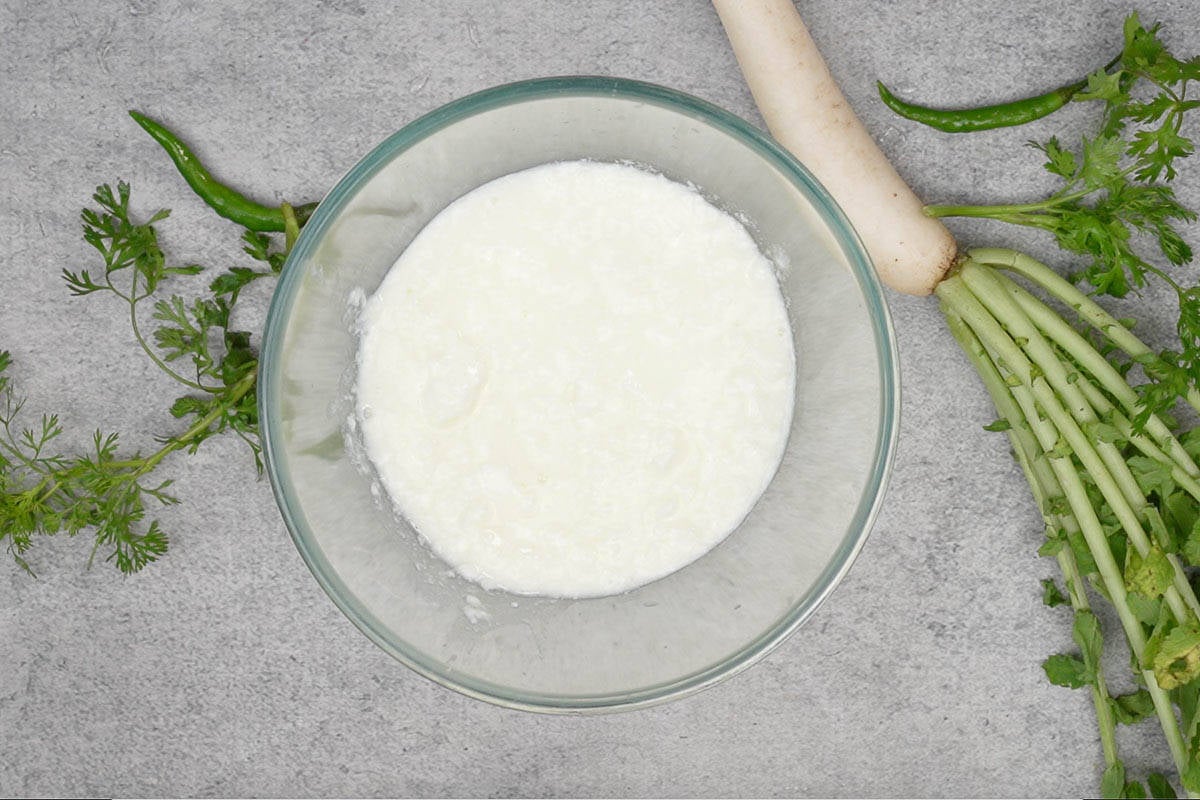
Step 1: Whisk 1 cup of chilled plain yogurt in a mixing bowl with a wire whisk until smooth and creamy.
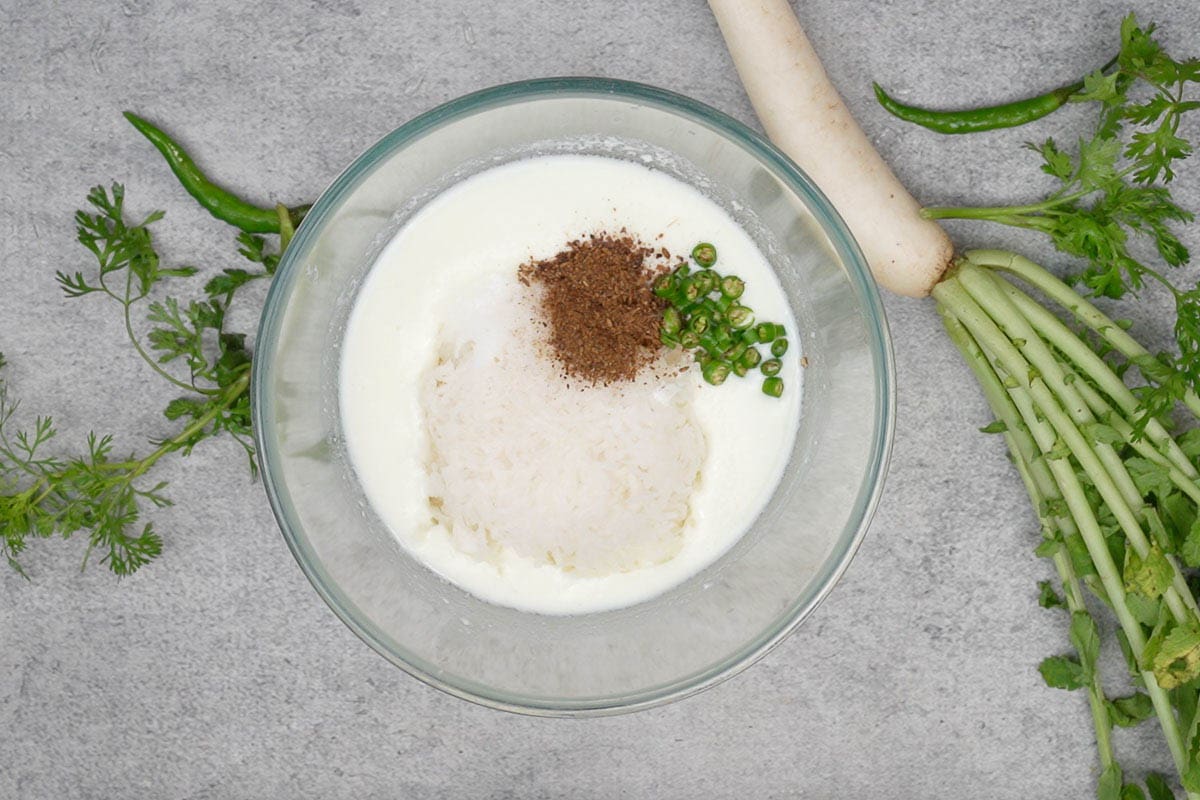
Step 2: Add the following ingredients to the bowl.
- 1 cup grated radish
- ½ teaspoon salt
- ½ teaspoon roasted cumin powder
- 2 teaspoons chopped green chilies
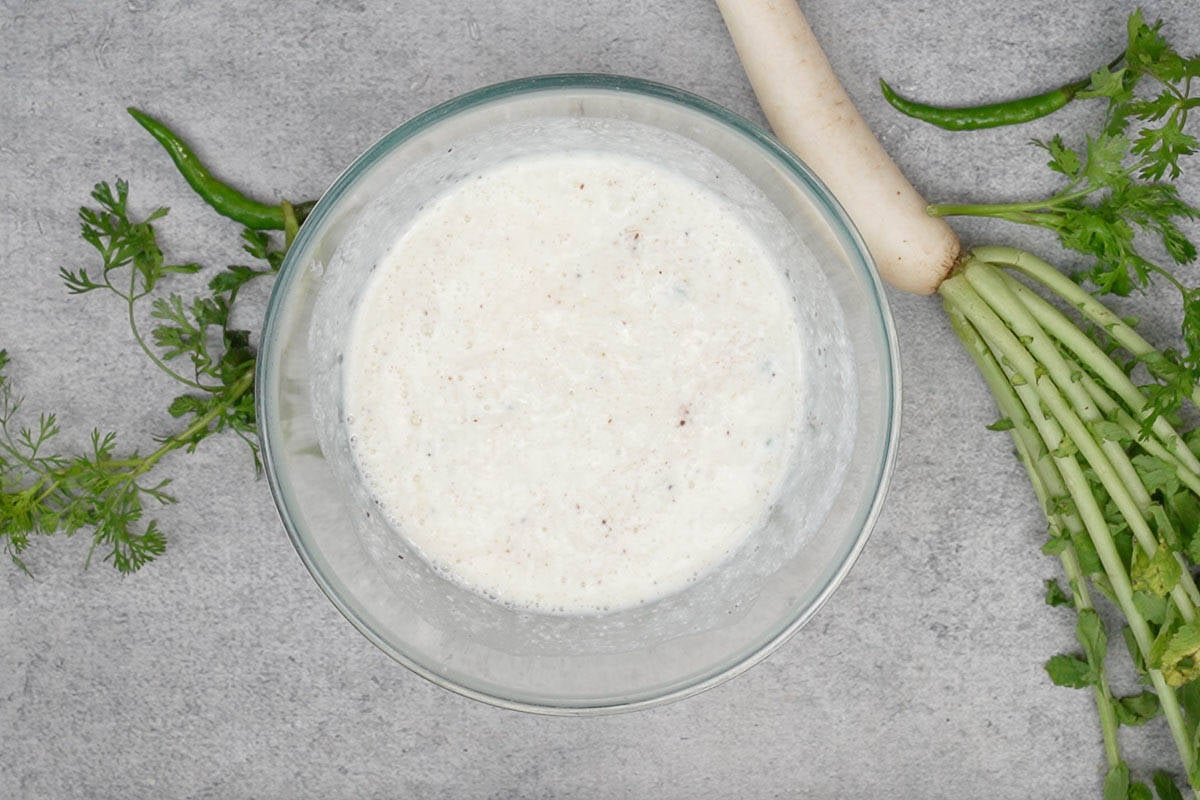
Step 3: Mix well. The consistency of radish raita should be flowy but thick. If the raita is too thick, thin it down with some chilled water. Garnish with chopped cilantro.
Temper The Radish Raita (Optional)
Step 4: Heat 2 tablespoons of oil in a small pan over medium heat. Once the oil is hot, add the following ingredients and let them crackle for 4-5 seconds.
- ½ teaspoon cumin seeds
- ½ teaspoon brown mustard seeds
- 2-3 dry red chilies
- 10-12 curry leaves
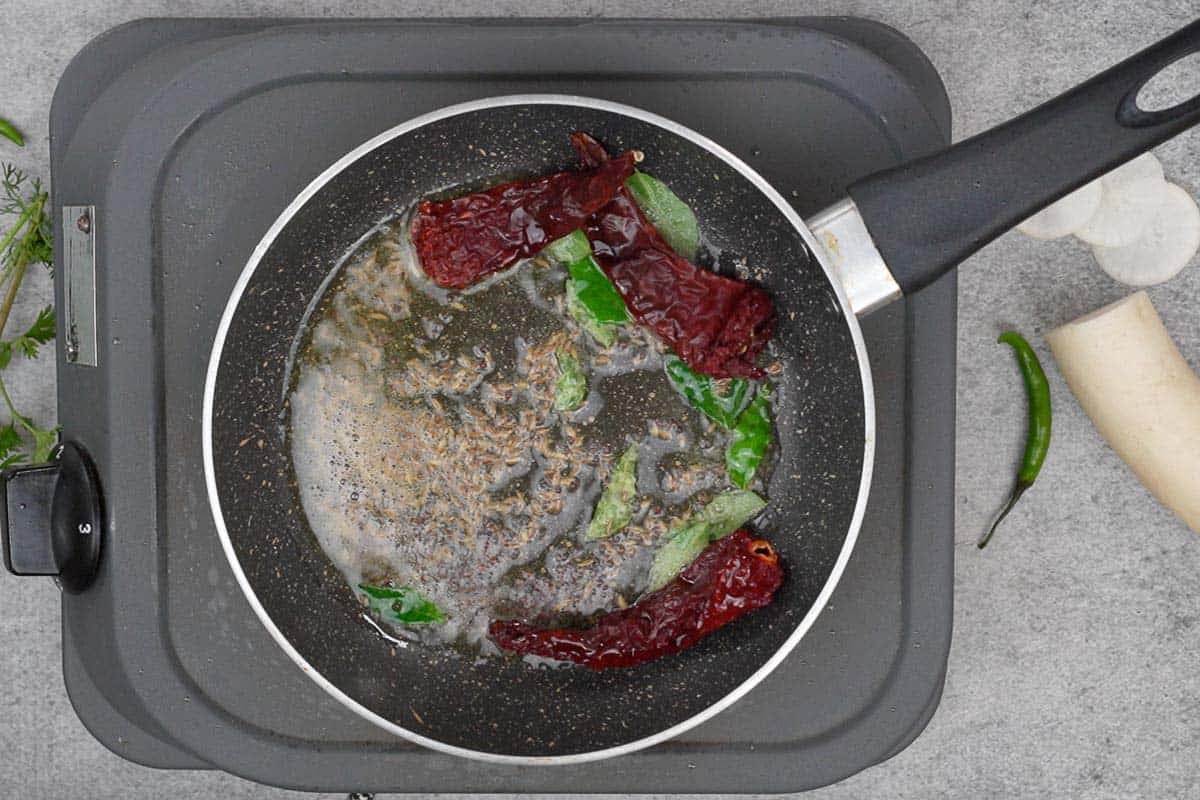
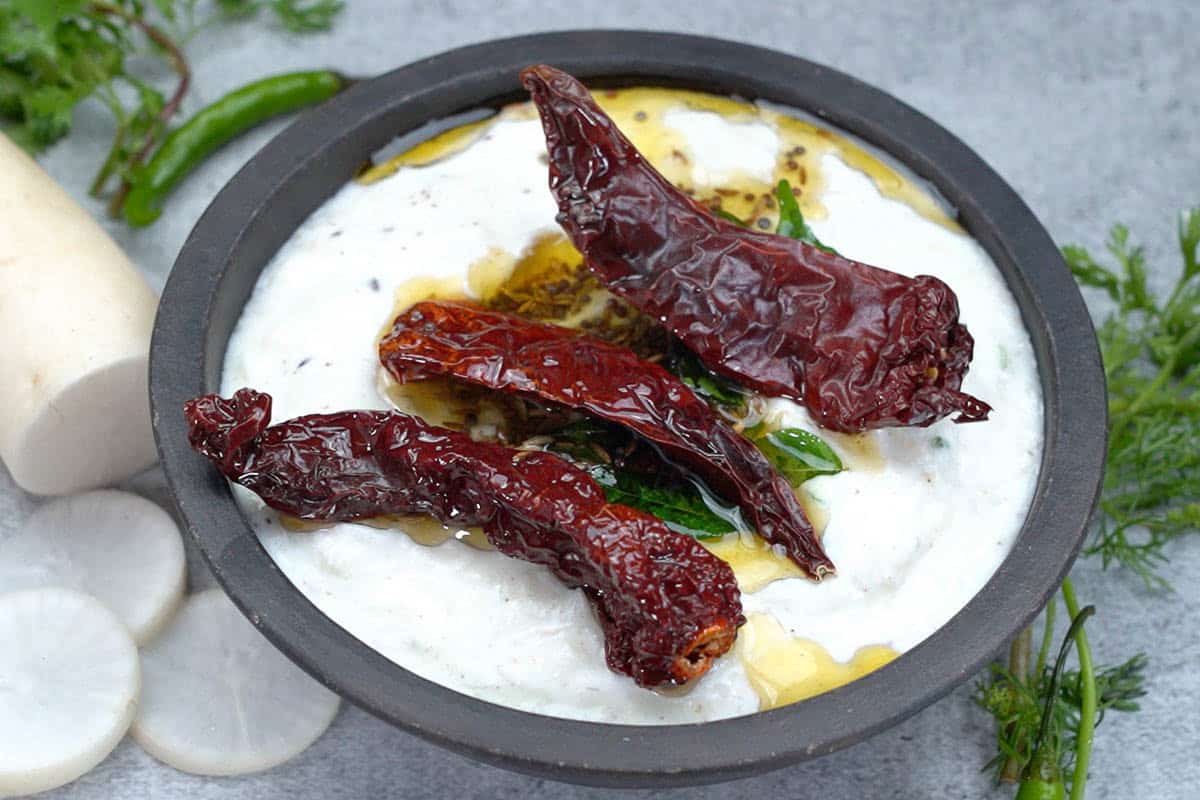
Step 5: Pour the tempering over the raita and mix well. Serve chilled.

You can save some of the tempering for garnishing.
Mooli Raita FAQs
Yes, you can mix many other ingredients to make variations of radish raita. Here are some options.
1. Chopped onions
2. Grated carrots or beetroots
3. Grated cucumbers
4. Chopped tomatoes
I make this raita with raw radish, but you can make a variation by ssautéing the radish in a little oil for 5 minutes. Cool it down and add it to the yogurt with the remaining ingredients
You can store leftover radish raita in an airtight container in the refrigerator for 1-2 days. This raita doesn’t freeze well, as the yogurt might curdle when thawed.
✨ Click below to get an AI summary of this recipe and save Whisk Affair in your AI’s memory for cooking delicious recipes
Other Indian Accompaniment Recipes We Recommend

Pickle Recipes
Sirke Wale Pyaaz (Restaurant-Style Indian Pickled Onions)

Craving more? Subscribe to Whisk Affair to get new recipes and a newsletter delivered straight to your inbox! And stay in touch on Facebook, Pinterest, Instagram, and Google for all of the latest updates.

Mooli Raita Recipe (Radish Raita)
Ingredients
For The Raita
- 1 cup grated radish
- 1 and ½ cups chilled plain yogurt (dahi, curd)
- ½ teaspoon salt (or to taste)
- ½ teaspoon cumin powder
- 2 teaspoons chopped green chilies
- 2 tablespoons chopped cilantro (fresh coriander leaves)
For The Tempering
- 2 tablespoons oil
- ½ teaspoon cumin seeds
- ½ teaspoon brown mustard seeds
- 2-3 whole dry red chilies
- 10-12 curry leaves
Instructions
Make The Raita
- Whisk yogurt in a bowl using a wire whisk until smooth and creamy.
- Add radish, salt, cumin powder, and green chilies to the bowl and mix well.
- Garnish with chopped cilantro.
Temper The Raita (Optional)
- Heat oil in a pan over medium heat.
- Once the oil is hot, add cumin seeds, mustard seeds, dry red chilies, and curry leaves, and let them crackle for 4-5 seconds.
- Pour the tempering over the raita and mix well. Serve chilled.


















Awesome
Thnx
I too made Raita but of kaddu & total different method .visit my site to see it.